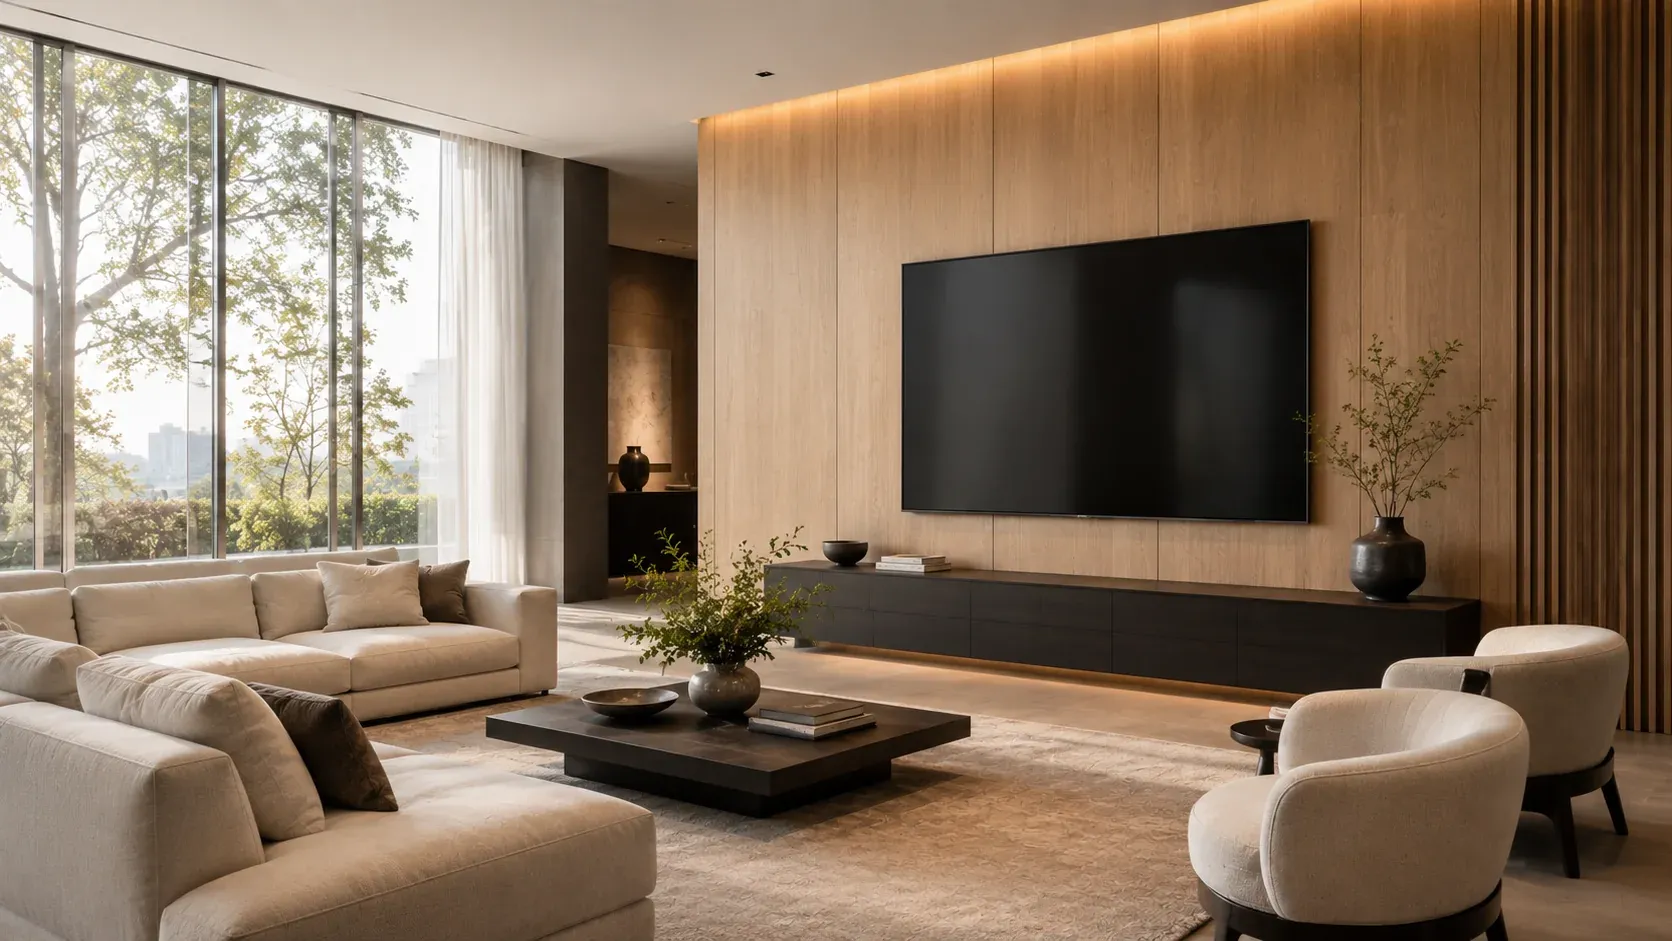
A dummy TV looks right only when its display setup matches the room setting. The same screen can look like a natural part of a living-room wall in one store and like an afterthought on a sideboard in another. The choice is not about which setup is better in general — it is about which one fits the setting, the furniture, and how often the setting changes.
This guide explains when to wall-mount and when to use a desktop stand, with the mounting facts you need to plan either option.
When a wall-mount is the right choice
Wall-mounting suits settings where the screen has a fixed place and the wall is the backdrop:
- Hero wall in a living-room setting. The screen sits at eye level on the main wall, above or beside the sofa arrangement, and becomes the focal point of the room. A wall-mount keeps the sightlines clean — no stand, no extra furniture under the screen, nothing competing with the sofa and coffee table.
- Fixed positions that will not move. When a setting is built to stay as it is for a season or longer, a wall-mount gives the most settled, finished look. The screen reads as part of the room, not as an object placed in it.
- Settings where floor and furniture space is tight. A wall-mounted screen frees the surface below it, so a low console or a styled sideboard can sit underneath without crowding.
Before choosing a wall-mount, confirm the VESA pattern for the size you plan to use. Our prop TVs use these VESA patterns, taken from the engineering drawings:
43": 100 × 100 mm
50" and 55": 200 × 150 mm
65": 400 × 200 mm
70" and 75": 400 × 250 mm
85": 600 × 350 mm
98": 600 × 450 mm
The mounting screws are M6 for 50" to 75" screens, and M8 for 85" and 98" screens. Check the pattern against the mount and the wall before the setting is built — a mismatch found on installation day is the most common avoidable delay. Our mounting approval checklist covers what to confirm with the store team before the screens go up.
When a desktop stand is the right choice
A desktop stand suits settings where the screen sits on furniture, or where flexibility matters more than a fixed position:
- Furniture-top display. When the screen sits on a TV console, a sideboard or a media unit, a desktop stand is the natural choice — the screen and the furniture are presented together, which is exactly what the customer is buying.
- Flexible repositioning. If the setting is rearranged for a new season, a promotion or a photoshoot, a stand lets the team move the screen without touching the wall. The setting can be restyled in minutes.
- Rented or frequently changed settings. In rented showroom space, pop-up settings or model homes that change often, a stand avoids drilling into walls that are not yours to modify — and avoids the repair work when the setting comes down.
Our prop TV stands are two separate feet. They sit under the screen on a flat surface, so check that the furniture top is wide and deep enough for the screen's overall footprint before you order. The overall dimensions, from the engineering drawings and rounded to whole millimetres, are:
- 43": 957 × 555 mm
- 50": 1,110 × 641 mm
- 55": 1,227 × 706 mm
- 65": 1,446 × 831 mm
- 70": 1,550 × 897 mm
- 75": 1,667 × 955 mm
- 85": 1,890 × 1,080 mm
- 98": 2,179 × 1,243 mm
For the largest screens, a stand only makes sense on furniture that is genuinely wide enough — an 85" or 98" screen on a narrow console will overhang and look unstable. For those sizes, our large-format prop TV staging guide explains how to plan the setting around the screen. If you are still deciding which sizes each setting needs, start with our dummy TV size guide and our guide to estimating mixed-size quantities.
A simple way to decide
Ask three questions about each setting:
- Is the position fixed? If the screen will stay in one place for a long time, wall-mount. If it will move, use a stand.
- What is underneath the screen? If there is a console or sideboard to show off, a stand presents screen and furniture together. If the wall should stay clean, wall-mount.
- Who changes the setting? If the store team restyles often, a stand keeps the change quick. If the setting is built once and left alone, a wall-mount gives the tidier finish.
In most showrooms the answer is a mix: wall-mounts for the hero living-room walls, stands for the bedroom and secondary settings where the screen sits on furniture. That mix is normal — the goal is consistency across stores, not the same setup in every room. For a multi-store rollout, record the chosen setup per setting in the store standard, so every store is built the same way. See our guide to multi-store furniture showroom rollouts for how to keep that standard consistent.
Checklist before you order
- Decide wall-mount or desktop stand for each room setting, not per store
- Confirm the VESA pattern for each size (100 × 100 mm at 43", up to 600 × 450 mm at 98")
- Confirm the screws: M6 for 50"–75", M8 for 85" and 98"
- Check the overall width and height against the wall or the furniture top
- Confirm the furniture top is wide and deep enough for the two separate stand feet
- Record the setup per setting in the store standard, so every store matches
Choose the setup that fits the setting, and the screen will look like it belongs there — which is the whole point of a showroom display.