
Oct 5, 2026Real Estate Staging
Model Home Electronics Staging Guide: What to Use, Where to Place It, and Why
A room-by-room guide to using non-functional prop electronics in model homes and show flats, with practical advice on product choice, scale, repeatability and pre-opening planning.
Model Home Electronics Staging Guide: What to Use, Where to Place It, and Why
A model home is judged as a complete lifestyle environment, not as a collection of individual furniture pieces. Small gaps matter. An empty media wall, an unused desk or a bedroom work surface with no visual cue can make a carefully designed room feel unfinished.
The purpose of prop electronics is therefore not to add “technology” for its own sake. It is to help buyers immediately understand how the room is meant to be lived in—without turning a static staging project into an electronics installation project.
This guide provides a room-by-room framework for developers, staging companies and interior designers who need to plan prop TVs, laptops, AIO desktops, tablets and phones across model homes, show flats or multiple residential units.
Start with room purpose, not a product catalog
The easiest way to over-stage a model home is to begin by asking, “Which products should we add?”
A better question is: **What should the buyer understand when they enter this room?**
Each room has a visual job.
Living room: create a media anchor
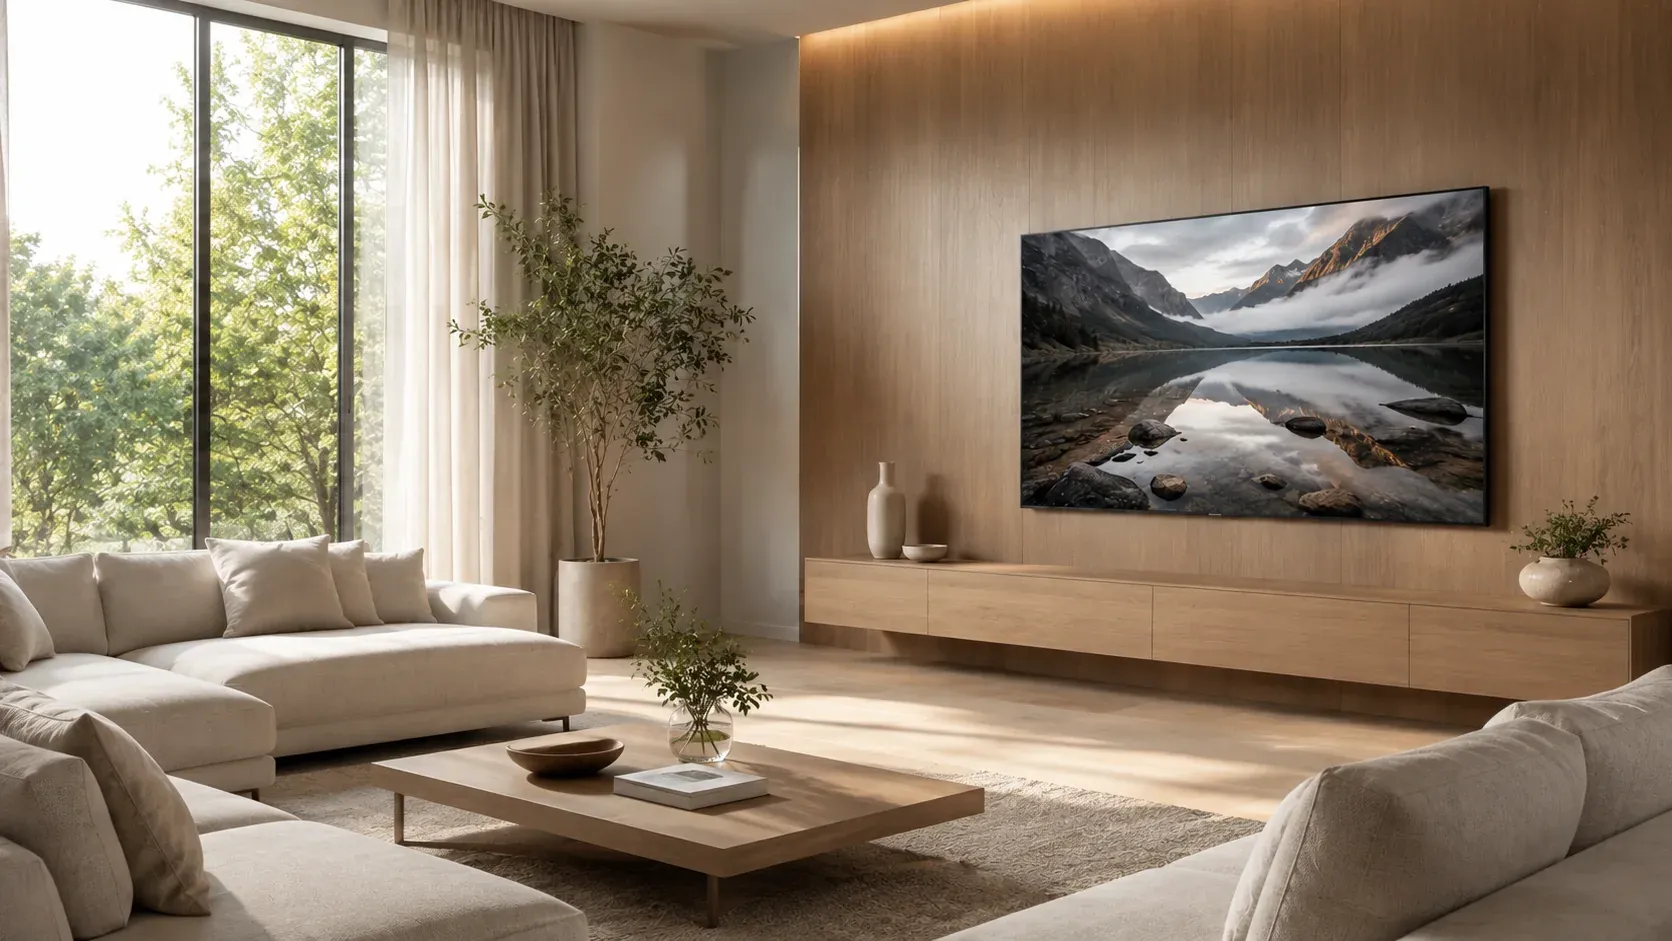
A living room often needs one strong focal point to make the furniture arrangement feel intentional. A prop TV can complete a media console, wall panel or entertainment unit without requiring the room to be designed around power access.
The key is proportion. The screen should support the furniture composition rather than dominate it. If you are comparing sizes, use the room dimensions, console width and wall layout rather than a universal “best size.” Our Professional Prop TVs guide provides a broader view of prop TV applications.
Home office: make the desk immediately understandable
A desk with no objects can look like a display sample. A laptop or AIO desktop turns it into a working environment in one glance.
A prop laptop is useful when the scene needs a lighter, flexible cue. An AIO desktop creates a stronger workstation anchor and may suit executive desks or more permanent office compositions.
Bedroom: use technology as a small lifestyle detail
Bedrooms usually need less. A phone on a bedside table, a laptop on a compact desk or a small screen cue can make the space feel occupied without turning it into a technology display.
The objective is to support the room story while keeping the furniture and textile styling dominant.
Smart-home or kitchen areas: use small devices selectively
A tablet or phone can help communicate a smart-home concept, control point or everyday lifestyle scene. These props work best when they have a clear role in the composition rather than being added because there is empty surface space.
Choose the minimum set of props needed
Good staging is selective.
If a living room already has a strong media wall, adding multiple devices around the room may create visual noise. If a home office has a desktop anchor, it may not also need a laptop, tablet and phone unless the concept specifically calls for them.
A practical rule is:
One primary cue per functional zone, then add secondary details only when they clarify the story.
This keeps the project easier to manage and makes each prop more purposeful.
Plan scale before color
Color is easy to discuss because it is visible. Scale is more important because it determines whether the prop feels naturally integrated with the furniture.
Before choosing a finish, review:
- furniture width;
- wall width;
- viewing distance;
- desktop depth;
- room size;
- surrounding accessories;
- whether the prop is intended as a focal point or a background cue.
For designers working across different room types, the Interior Design Prop Scale Guide can help structure those decisions.
Reduce setup dependencies in static scenes
Model homes often operate on a tight opening schedule. Every dependency creates another task for the project team.
Functional electronics can introduce requirements such as:
- power access;
- chargers and cable routing;
- software or account setup;
- content selection;
- device security or storage procedures;
- replacement planning if products are moved between units.
Non-functional prop electronics remove many of those electronic dependencies when the project only needs a visual cue.
This does not mean every real device should be replaced. If a demonstration requires actual screen behavior, connectivity or interactive functionality, use real equipment. The staging question is always about matching the tool to the job.
Build a room-by-room staging kit
For one show flat, the project team can make decisions informally. Across multiple units, that becomes difficult to manage.
A room-by-room staging kit turns design decisions into a repeatable standard.
For example:
Living Room Kit
- approved prop TV size;
- wall-mounted or tabletop format;
- approved screen image;
- placement reference photo.
Home Office Kit
- silver, black or white prop laptop depending on the furniture palette;
- optional AIO desktop for larger desks;
- placement reference.
Bedroom Kit
- optional laptop or phone;
- limited accessories;
- no unnecessary duplication.
Smart-Home Kit
- tablet or phone only where it supports the design concept.
The kit makes it easier for the design team, purchasing team and site team to work from the same reference.
Standardize across multiple units or developments
If the same developer operates multiple show flats, the value of standardization increases.
Instead of approving every room again, define:
1. the approved product by room type;
2. acceptable size alternatives;
3. color or finish rules;
4. screen artwork where applicable;
5. packaging and storage requirements;
6. who approves changes;
7. how future quantities will be reordered.
This is particularly useful when projects open at different times but still need a consistent design language.
Plan the pre-opening checklist
Thirty days before opening, staging teams should be managing exceptions—not still deciding basic product choices.
A practical electronics staging checklist should include:
Quantity
How many units are required by room type? Are spare pieces needed for photography, replacement or future units?
Room assignment
Which product belongs in which room? Avoid sending one undifferentiated box of props to the site.
Sample sign-off
Has the design team approved the appearance, color, scale and screen treatment?
Delivery date
Work backward from the staging and photography schedule, not only from the public opening date.
Storage plan
Where will props be kept before installation and between refreshes?
Reorder reference
If the same design is used again, can procurement order the same approved configuration without restarting the discussion?
Turn the staging plan into a procurement brief
A strong inquiry gives the supplier enough context to recommend a project solution.
Instead of sending only “Please quote dummy TVs,” provide:
- project type;
- number of model homes or units;
- room list;
- preferred products;
- approximate sizes;
- destination;
- required delivery date;
- whether a sample is needed first;
- whether the setup will be repeated in future projects.
That information turns the conversation from product pricing into project planning.
Next step: build the room list first
If a model home project is still in the planning stage, a full quotation may be premature.
Start with the room list. Identify the living rooms, offices, bedrooms and smart-home zones that genuinely need an electronics cue. Then define the minimum prop set for each room.
Once that list is approved, sample selection and project quantities become much easier—and the staging team is far less likely to buy items that do not contribute to the final presentation.