
Oct 5, 2026Real Estate Staging
Prop Electronics for Australian Model Homes: A Practical Staging & Supply Guide
A practical guide for Australian model-home and display-apartment teams on selecting prop TVs, laptops and other non-functional electronics by room, scale, sample approval and distribution plan.
Prop Electronics for Australian Model Homes: A Practical Staging & Supply Guide
Residential staging teams often need electronics to complete a room without turning the space into an IT installation project.
In a model home or display apartment, the buying question is usually practical: which devices create the right visual cue, what sizes fit the furniture, and how can the same approved setup be repeated across multiple properties or locations?
For Australian projects, the same logic applies whether the site is in Melbourne, Sydney, Brisbane, Perth or another market: start with the room, validate the visual fit, and only then plan quantities and distribution.
Start with room purpose, not a product catalog
A product list is not a staging plan.
Before choosing prop electronics, map the purpose of each room.
Living room
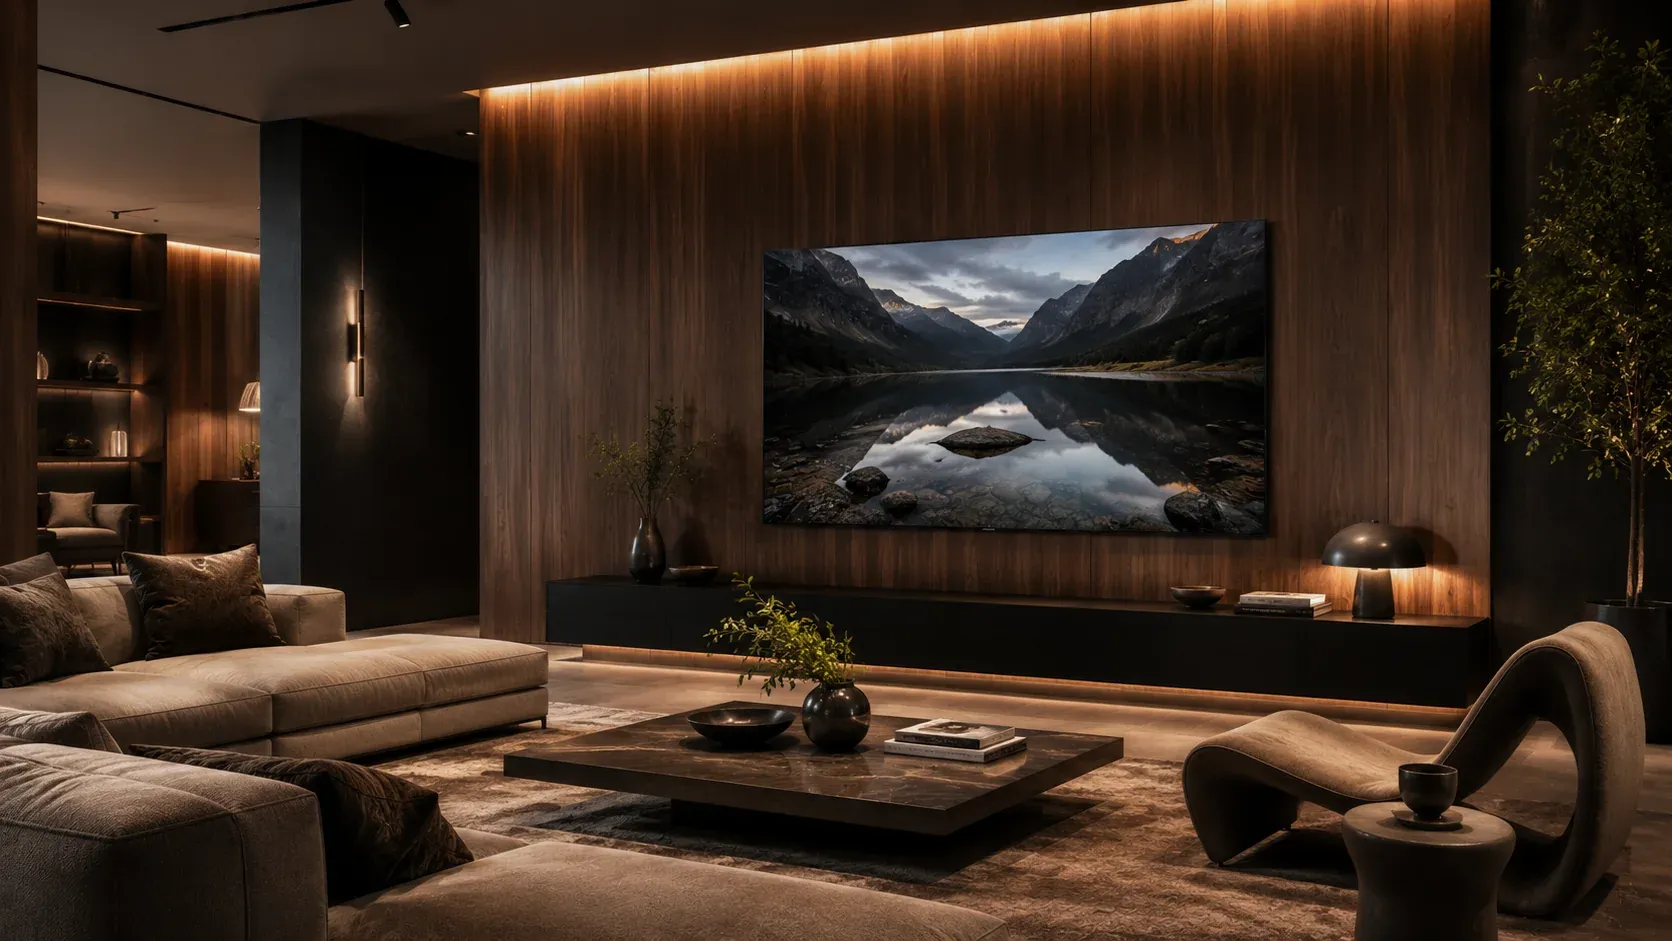
The living room usually needs a media anchor. A prop TV can help complete a console, wall unit or media wall when the space does not require live content.
Use the furniture and wall composition to guide the screen size. Avoid choosing a TV because a particular inch size is popular. The Professional Prop TVs guide explains the broader application logic.
Home office or study
A laptop or AIO desktop helps a desk read as a real working space.
A laptop is visually lighter and easier to use in compact settings. An AIO desktop can create a stronger workstation focal point for larger desks or dedicated offices.
Bedroom
Bedrooms normally need fewer technology cues. A laptop or phone can add a lifestyle detail, but the furniture, textiles and lighting should remain the dominant story.
Smart-home or kitchen areas
A tablet can support a smart-home concept where it has a clear role. Avoid placing devices on every empty surface.
Choose scale from the actual furniture
Australian residential layouts vary widely, so there is no useful universal rule such as “this TV size is always right for a model home.”
Instead, collect the dimensions that matter:
- console width;
- wall width;
- room depth;
- sofa position;
- desk width and depth;
- shelving dimensions;
- visual distance from the main viewing position.
Then compare the prop size against the furniture.
The Interior Design Prop Scale Guide provides a structured way to think about proportion across different room types.
Build a room-by-room staging kit
For repeated projects, a room kit makes procurement easier.
A basic structure might look like this:
Living Room Kit
- approved prop TV size;
- wall-mounted or tabletop format;
- approved screen image where applicable;
- reference photo for placement.
Home Office Kit
- silver, black or white prop laptop depending on the interior palette;
- optional AIO desktop for larger settings;
- placement reference.
Bedroom Kit
- optional laptop or phone;
- minimal secondary props.
Smart-Home Kit
- tablet or phone where it supports the design narrative.
The goal is not to create a rigid formula. It is to give the project team an approved starting point that can be repeated and adjusted when needed.
Plan samples before project quantities
A sample is especially useful when several units or future projects may use the same specification.
Use the sample stage to confirm:
- visual scale;
- color and finish;
- screen artwork where supported;
- wall or tabletop placement;
- packing method;
- handling expectations;
- whether the product works with the intended furniture.
Once the design team approves the sample, record the configuration so procurement can refer back to it later.
Think about domestic distribution after import
International delivery is only one part of the project. Buyers should also decide what happens after the shipment arrives in Australia.
Common models include:
Central warehouse
Products arrive at one receiving point and are redistributed to individual developments or staging teams.
This model benefits from clear carton labels and an internal store/project matrix.
Direct to project
Products are shipped to a specific project location or receiving warehouse. This may reduce redistribution but requires accurate site information and timing.
Phased delivery
Different developments or display apartments open at different times, so quantities are released in stages.
The best model depends on the buyer’s own logistics network. The supplier should understand that model before finalizing packing and shipment planning.
Create a project brief before requesting a quote
A useful project brief can be short.
Include:
- project or development name;
- number of display apartments or model homes;
- room types;
- product types required;
- approximate sizes;
- color preferences;
- destination city or warehouse;
- required date;
- whether one sample is needed first;
- whether the same setup may be reused in future developments.
This gives the supplier enough context to recommend a practical combination instead of simply quoting isolated products.
Use proof to reduce internal uncertainty
Case studies are useful when they show how a product was used in a real environment, but they should not be treated as universal proof that the same setup will work everywhere.
For an Australian context, the Melbourne Penthouse Staging Case can be used as a visual reference. Then validate your own room dimensions and design requirements separately.
A simple Australian model-home planning checklist
Before ordering, confirm:
Design
- Which rooms need an electronics cue?
- What visual role does each prop serve?
- Which sizes fit the furniture?
- Are color choices coordinated with the interior palette?
Approval
- Is a sample required?
- Who signs off the final selection?
- Are reference photos or artwork files recorded?
Quantity
- How many units by room type?
- Are spare units required?
- Are quantities split across multiple sites?
Logistics
- Which city or warehouse receives the shipment?
- Central receiving or direct to project?
- One shipment or phased deliveries?
Reorder
- Will future developments use the same standard?
- Is the approved configuration documented?
Next step: start with the room list
If your project is still being designed, do not begin with a blanket product quantity.
Start with the rooms. Mark where a TV, laptop, AIO desktop, tablet or phone would genuinely help communicate how the space is used.
Then compare the scale against the furniture and approve one sample where needed.
That sequence makes the eventual quotation more accurate and turns the product list into a staging system rather than a collection of disconnected props.